Don’t you love a good slice of pizza?
If so, you’re not alone. Pizza appears to be the most photographed food on Instagram.
There was a time, before Instagram co-founder Kevin Systrom shared the platform’s first photo (on July 16, 2010), when — believe it or not — we just ate food. We didn’t snap a picture and then share it to social media.
Now, 95 million Instagram posts are made every day. I don’t know how many of those are food posts, but if my stream and those of people I follow are any indication, food is a common topic.
Deciding to up my Insta photo game
I’m in a local Facebook “foodie” group. As our group grew and our common interests started becoming more apparent, our facilitator discussed the idea of a meetup where we could get some professional instruction on how to take better cellphone pictures of our food.
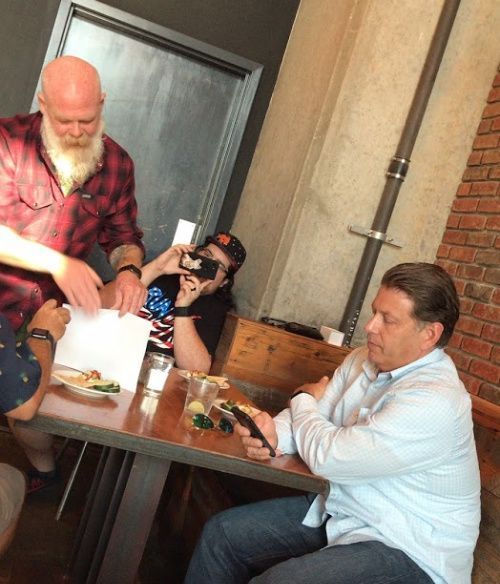
Enter the Tallahassee Foodies Cellphone Photography Meetup. The organizers secured a venue and an instructor (Emmy Award-winning Dave Barfield of Lonely Fox Photography) for the event, held on Sept. 5.
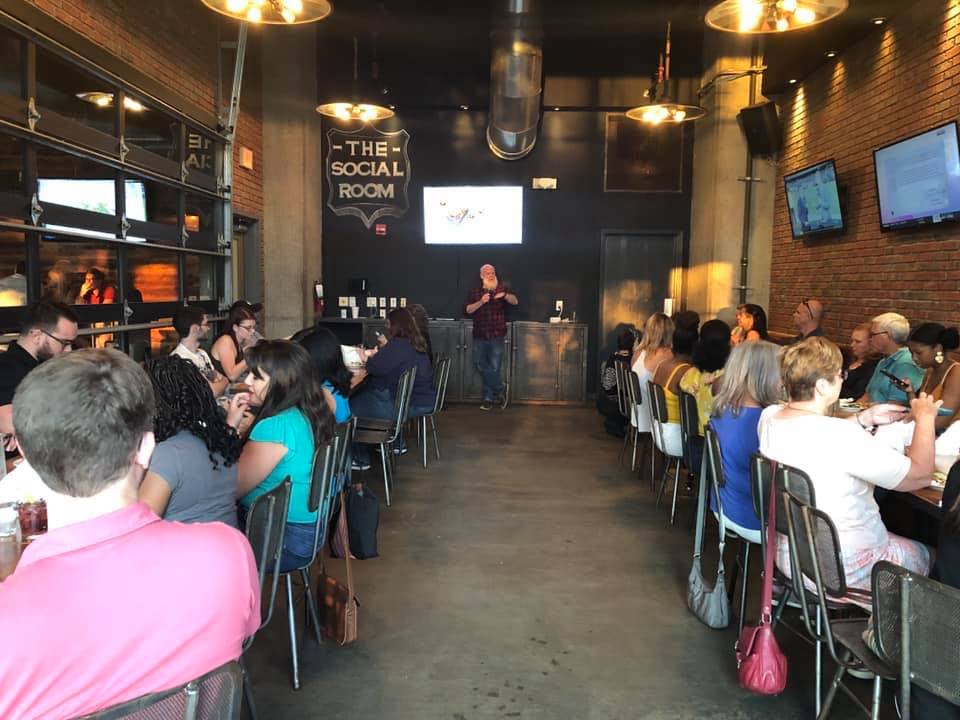
Here are three takeaways I gained from the evening (plus a bonus, which is actually the most important point). I must share the caveat that it was a challenge to take notes, eat our food, take pictures, visit with all the fun people, drink tasty concoctions from the bar (optional, obviously!) and absorb all of Dave’s great information. Hopefully the pieces I did catch will help you if you’re trying to improve your cellphone food photography.
Room Lighting Matters
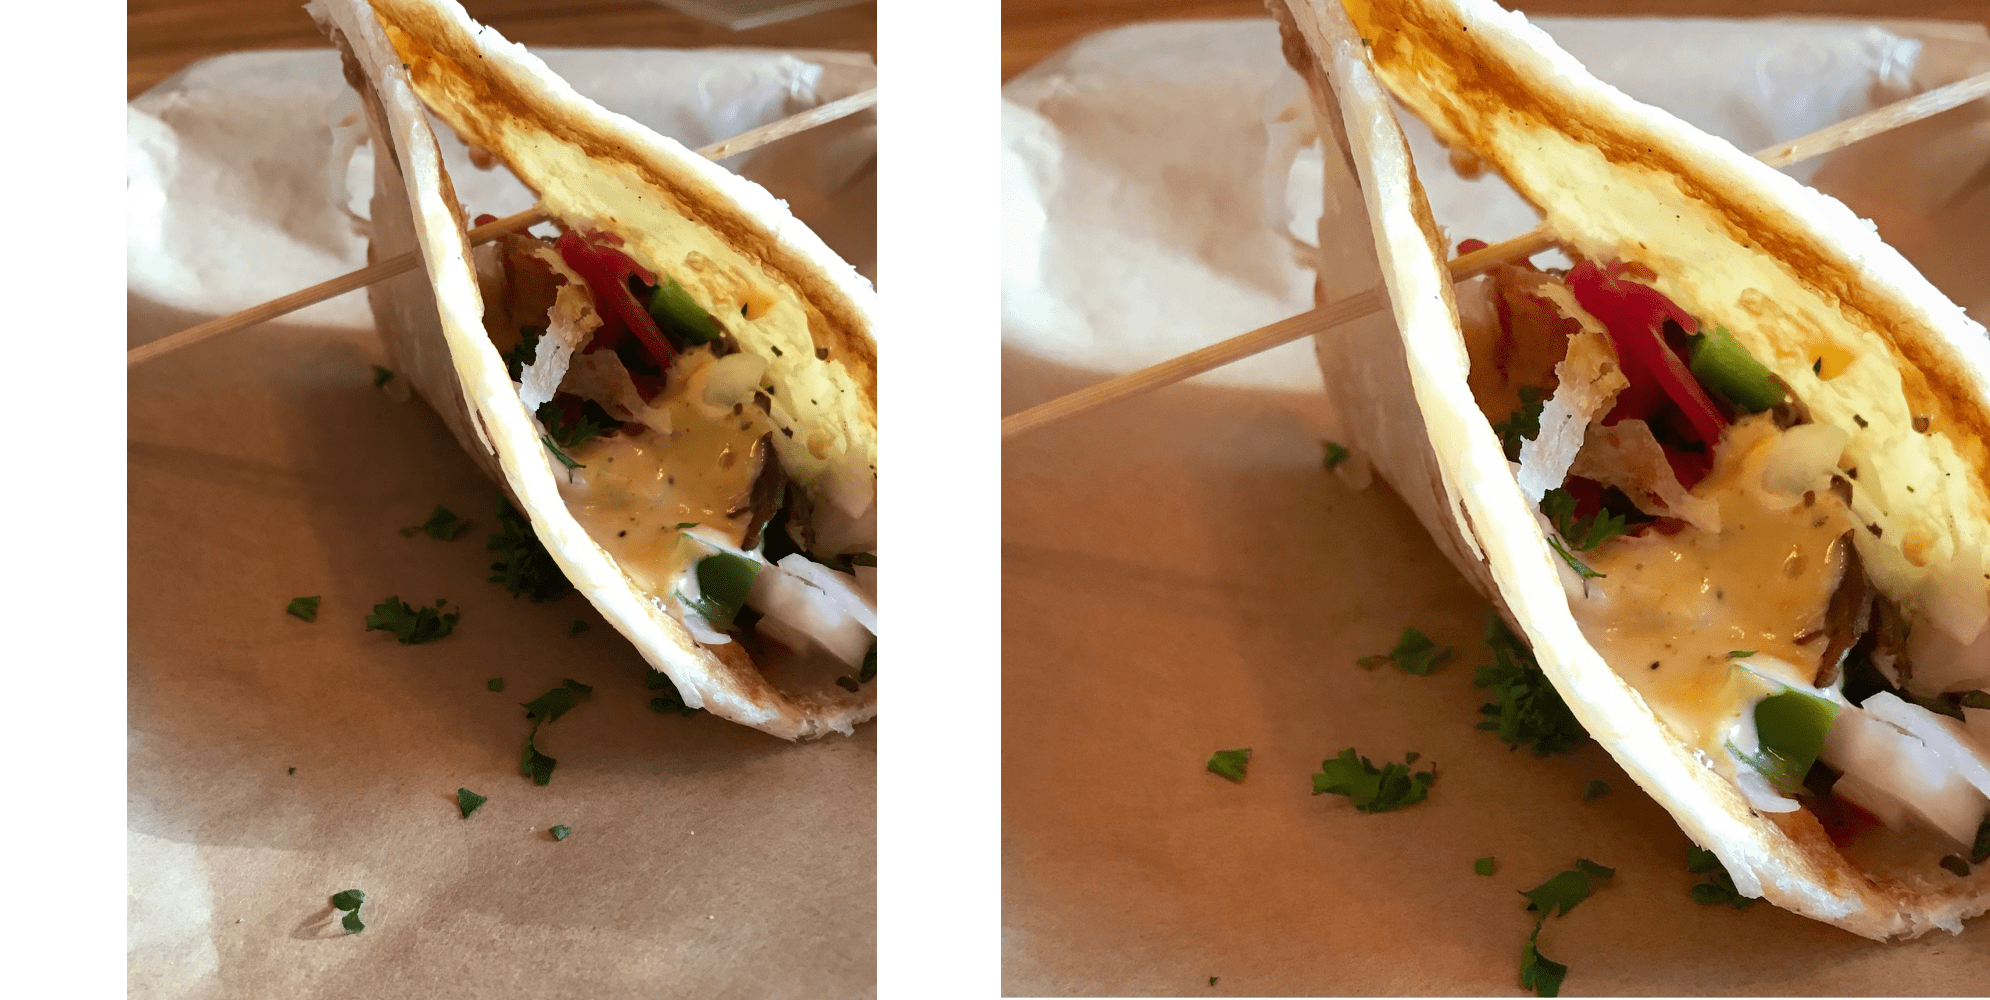
The light in the room can make a big difference in the appeal of your food picture, said Dave. He urged us to sit near a window when possible and take advantage of natural light, which is best for this type of photography.
On one issue (which I have, sadly, violated often with the “fail” that is to be expected) Dave was unequivocal. DON’T USE YOUR FLASH. There’s nothing good to come from trying to use your flash when photographing your food. I can attest!
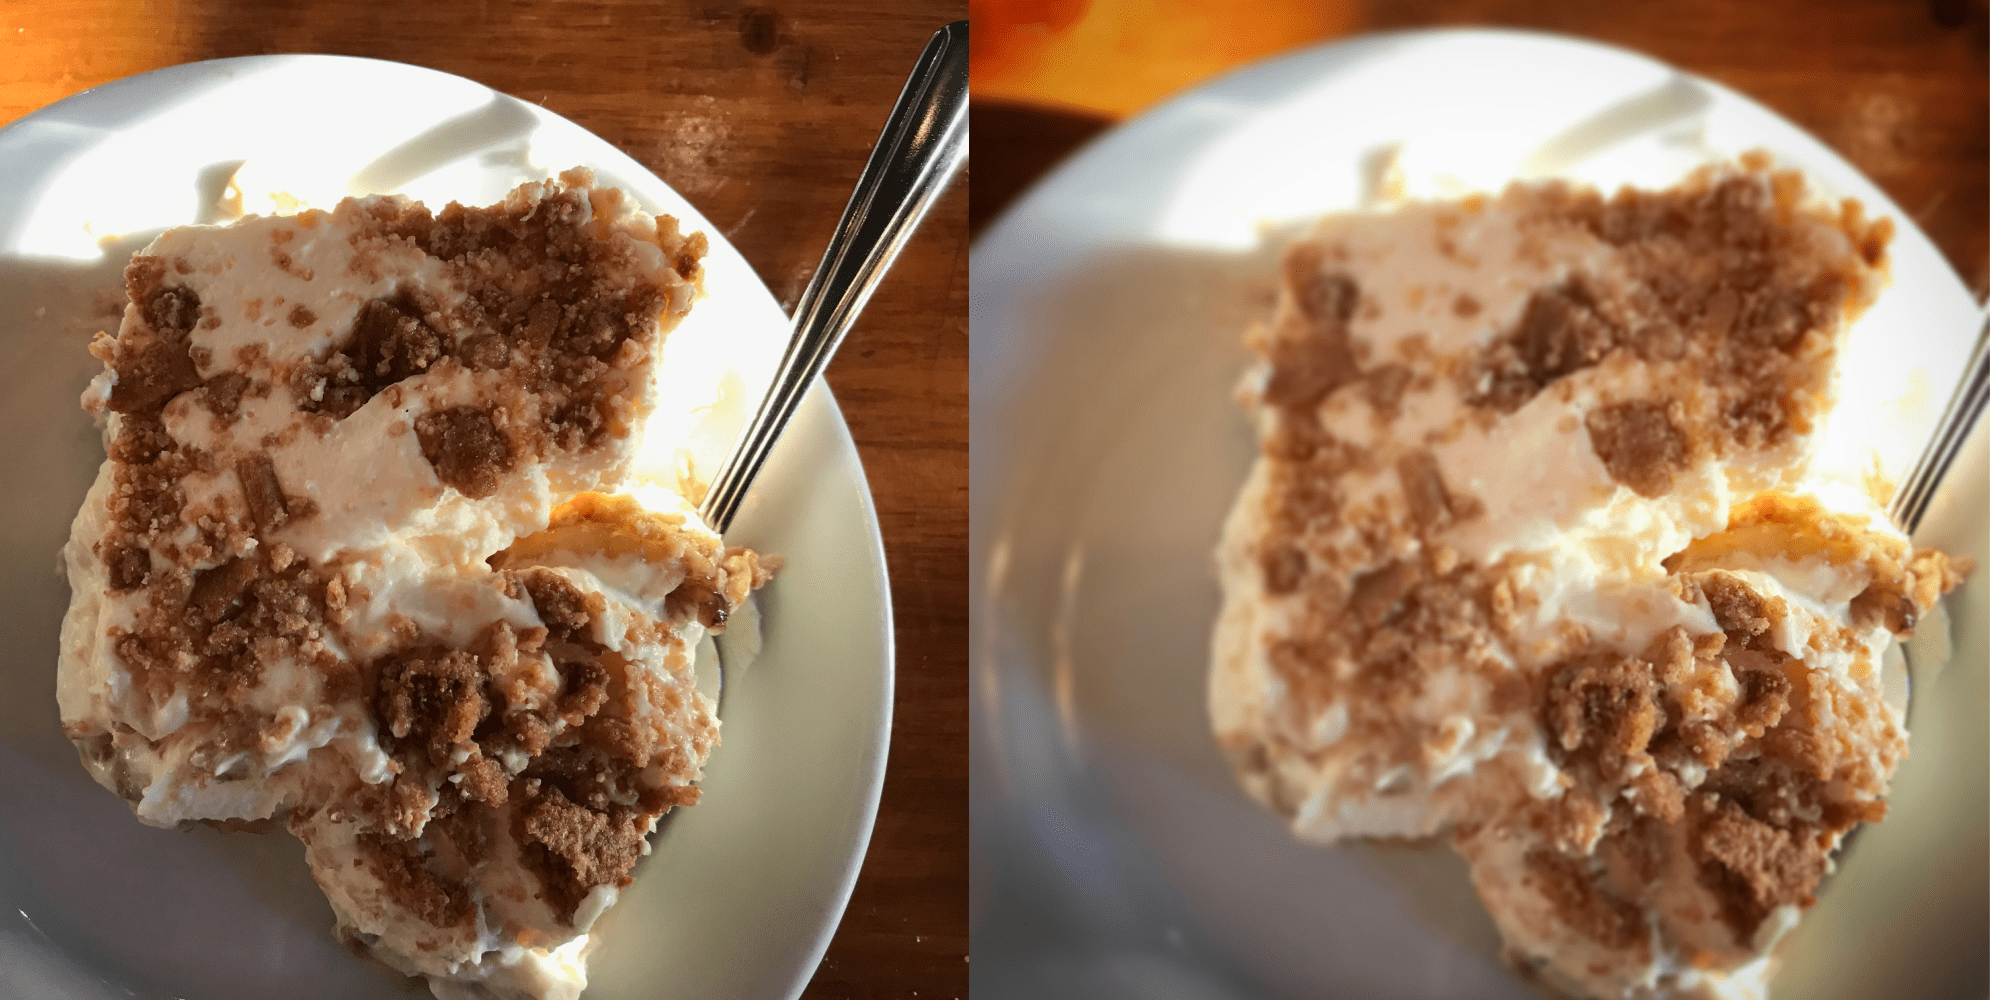
We had a *ton* of fun with one of the pointers Dave gave us. I got more questions on this topic that I mentioned in my Instagram story than I did about anything else. A white napkin can be an effective device for improving your food photography.
Our fearless Tallahasee Foodies leader, Jennifer, captured the power of the white napkin better than I did (must have been when I was doing that cocktail thing): “If you have light on one side, and shadows on the other, you can use it to bounce light into the shadowy areas, or if you have too much direct light, you can use it to block/diffuse.”
Dave also pointed out that you can cover the phone’s flash with the white napkin and negate the flash’s detrimental effects, but I watched him do it and it’s not as easy as it sounds!
Positioning
Dave described different ways to position your food and set the scene to make the image more compelling.
Thirds Photography’s rule of thirds at its most basic encourages photographers to use other options than positioning the subject right in the middle of the frame. The link I have shared has a good explanation.
3/4 view Dave described 3/4 view as “how you would see your food.” It covers holding the phone at an angle varying between 25 and 75 degrees in relation to the food, according to this article, which gives a great example of the difference between a camera held at 30 degrees and one held at 45 degrees, in addition to more information about why the angle matters.
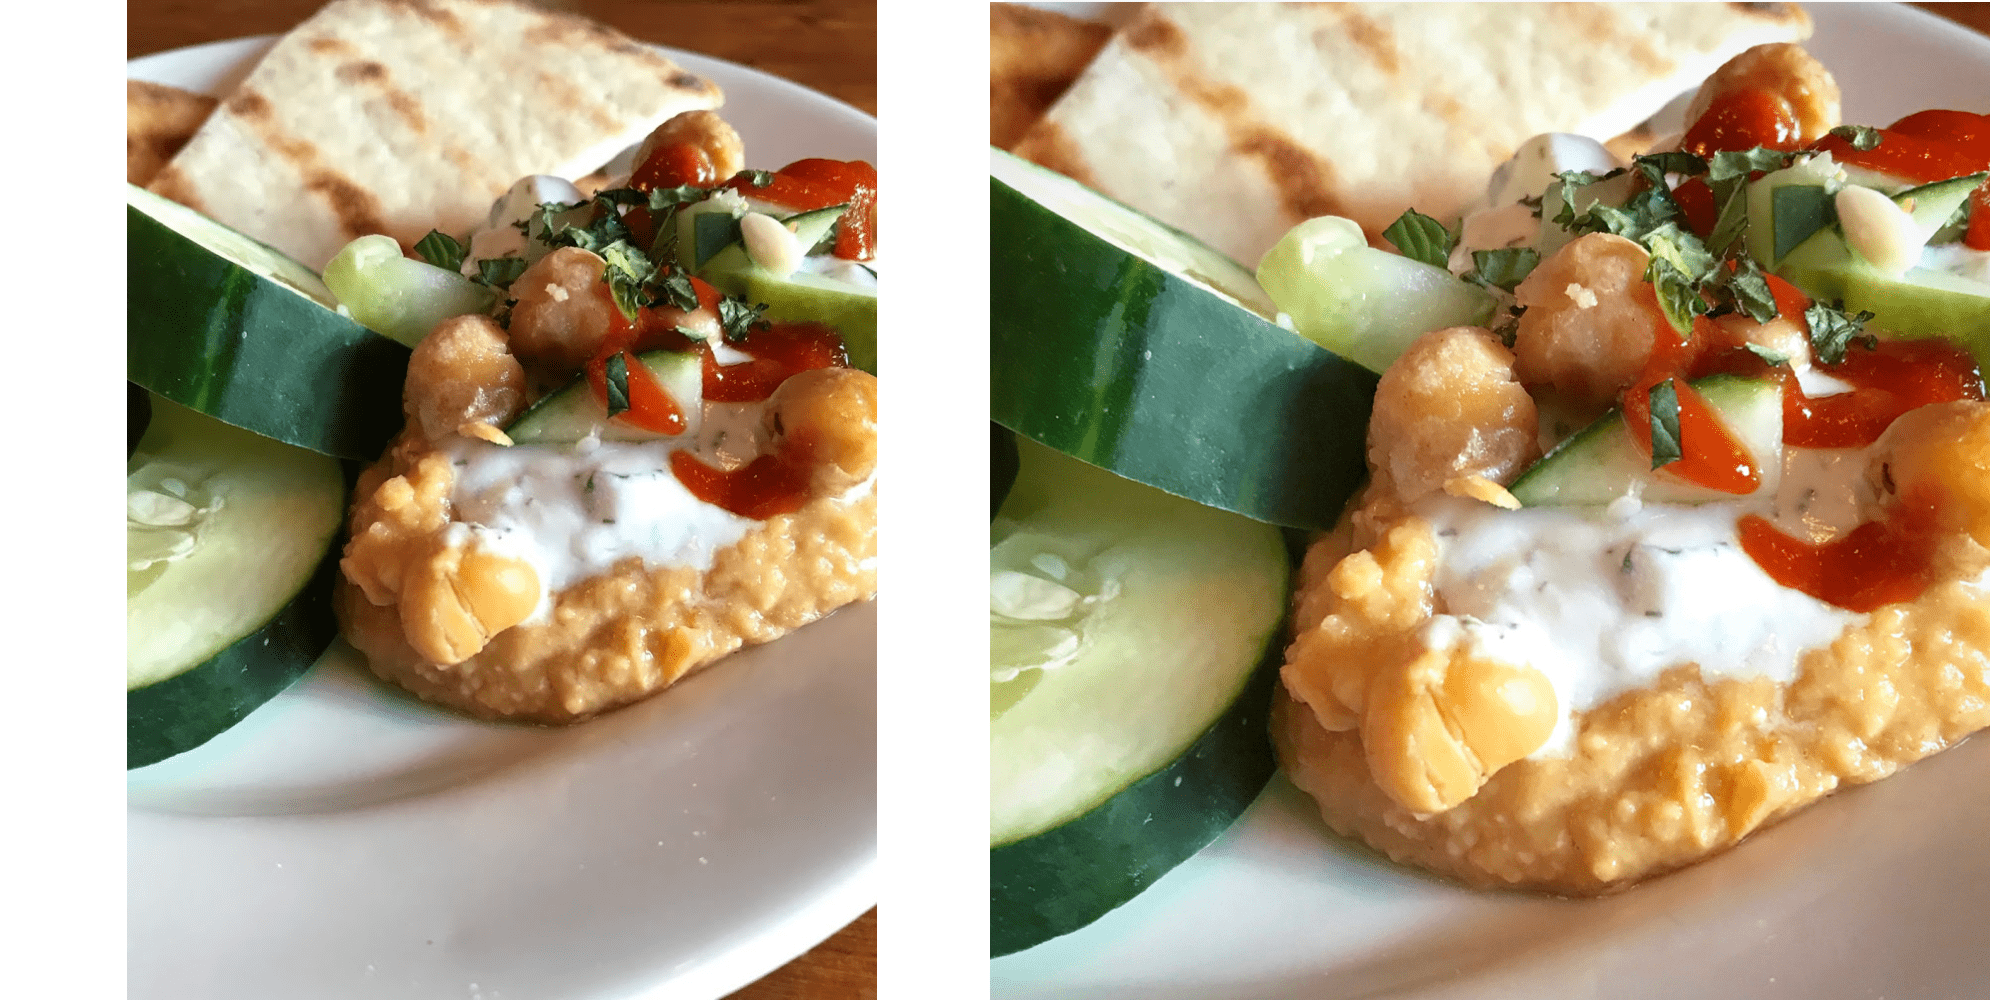
Master view This involves holding the camera directly overhead (at a 90 degree angle). This is one I try often, because it does (sometimes) look more professional without needing much extra effort. I watched Dave coach a few people that evening, and I noticed that he pointed out the necessity of being at a true 90 degree angle. It’s an easy thing to not pay attention to in the midst of enjoying a meal with friends. There was also at least one hummus casualty in each class due to a dropped phone while going for this shot. Hold on to your phone!
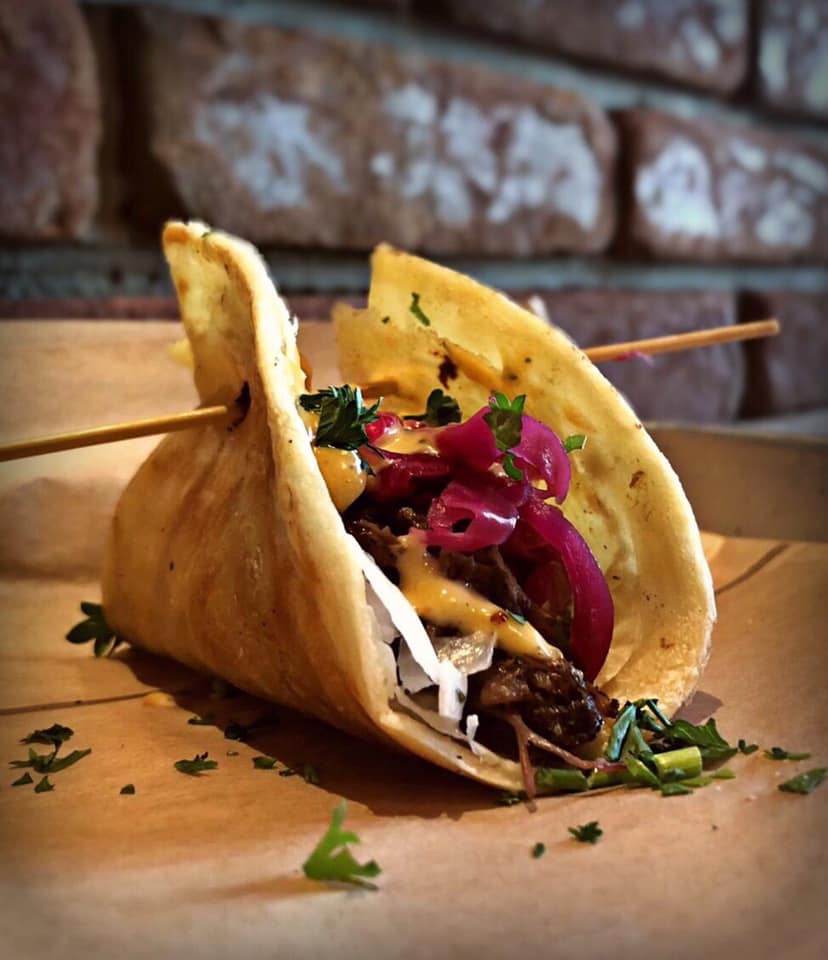
Details Choosing to focus on standout details of your dish can create a great image, said Dave.
Context Try to capture something that identifies the establishment, recommended Dave (you’re going to want to tag them to give them some social media love, right?).
Burst mode Dave noted that burst mode can be effective for catching interesting images such flames at just the right moment.
Tap the screen where you want the focus to be This is one I was taught long ago. Obviously a simple tip, one many iPhone users know, but it bears repeating.
Editing Tricks
Here are a few tips Dave gave regarding the editing process:
- Avoid “weird diagonal lines”
- Enhance the brightness
- Reduce shadows
- Warm tones are important
- Always add a vignette to the corners, which darkens the corners slightly and brightens the center (here’s a good explanation)
- Experiment with tilt-shift effects
- Crop after editing
BONUS: Etiquette
Time for a small soapbox here (photograph it from whatever angle you prefer). I truly enjoyed the class and gained tips that I know I will use in the future.
However, as soon as I left Madison Social (the venue), I immediately felt hesitant to share photos of food on Instagram. “Oh crap what if it isn’t warm enough? (the photo tones, not the food!), What if I could have used the magic white napkin to make this picture more aesthetically pleasing?”
I found myself adding a caveat, especially within our Facebook group and with people who had been at the class with me. “Not edited/filtered, just a picture.”
The very first thing Dave covered was etiquette. Don’t stand on your chair to get the perfect master angle, he pleaded. Wait and edit your pictures after you eat. The chefs prepared the food carefully (usually at least!) and it is meant to be served at a certain temperature. Don’t let it get cold while you find the right angle.
As I said when I started this piece, my notes aren’t perfect. My pictures never will be. But I enjoyed good food with enjoyable people in an atmosphere that nourished my soul in a way that will last much longer than a few Instagram “likes.”
In fact, my favorite picture from the evening has terrible lighting, not a crumb of food and probably breaks many of the rules Dave tried to teach us. But what good is it if your picture is perfect if you’ve neglected picture perfect friends in the process?
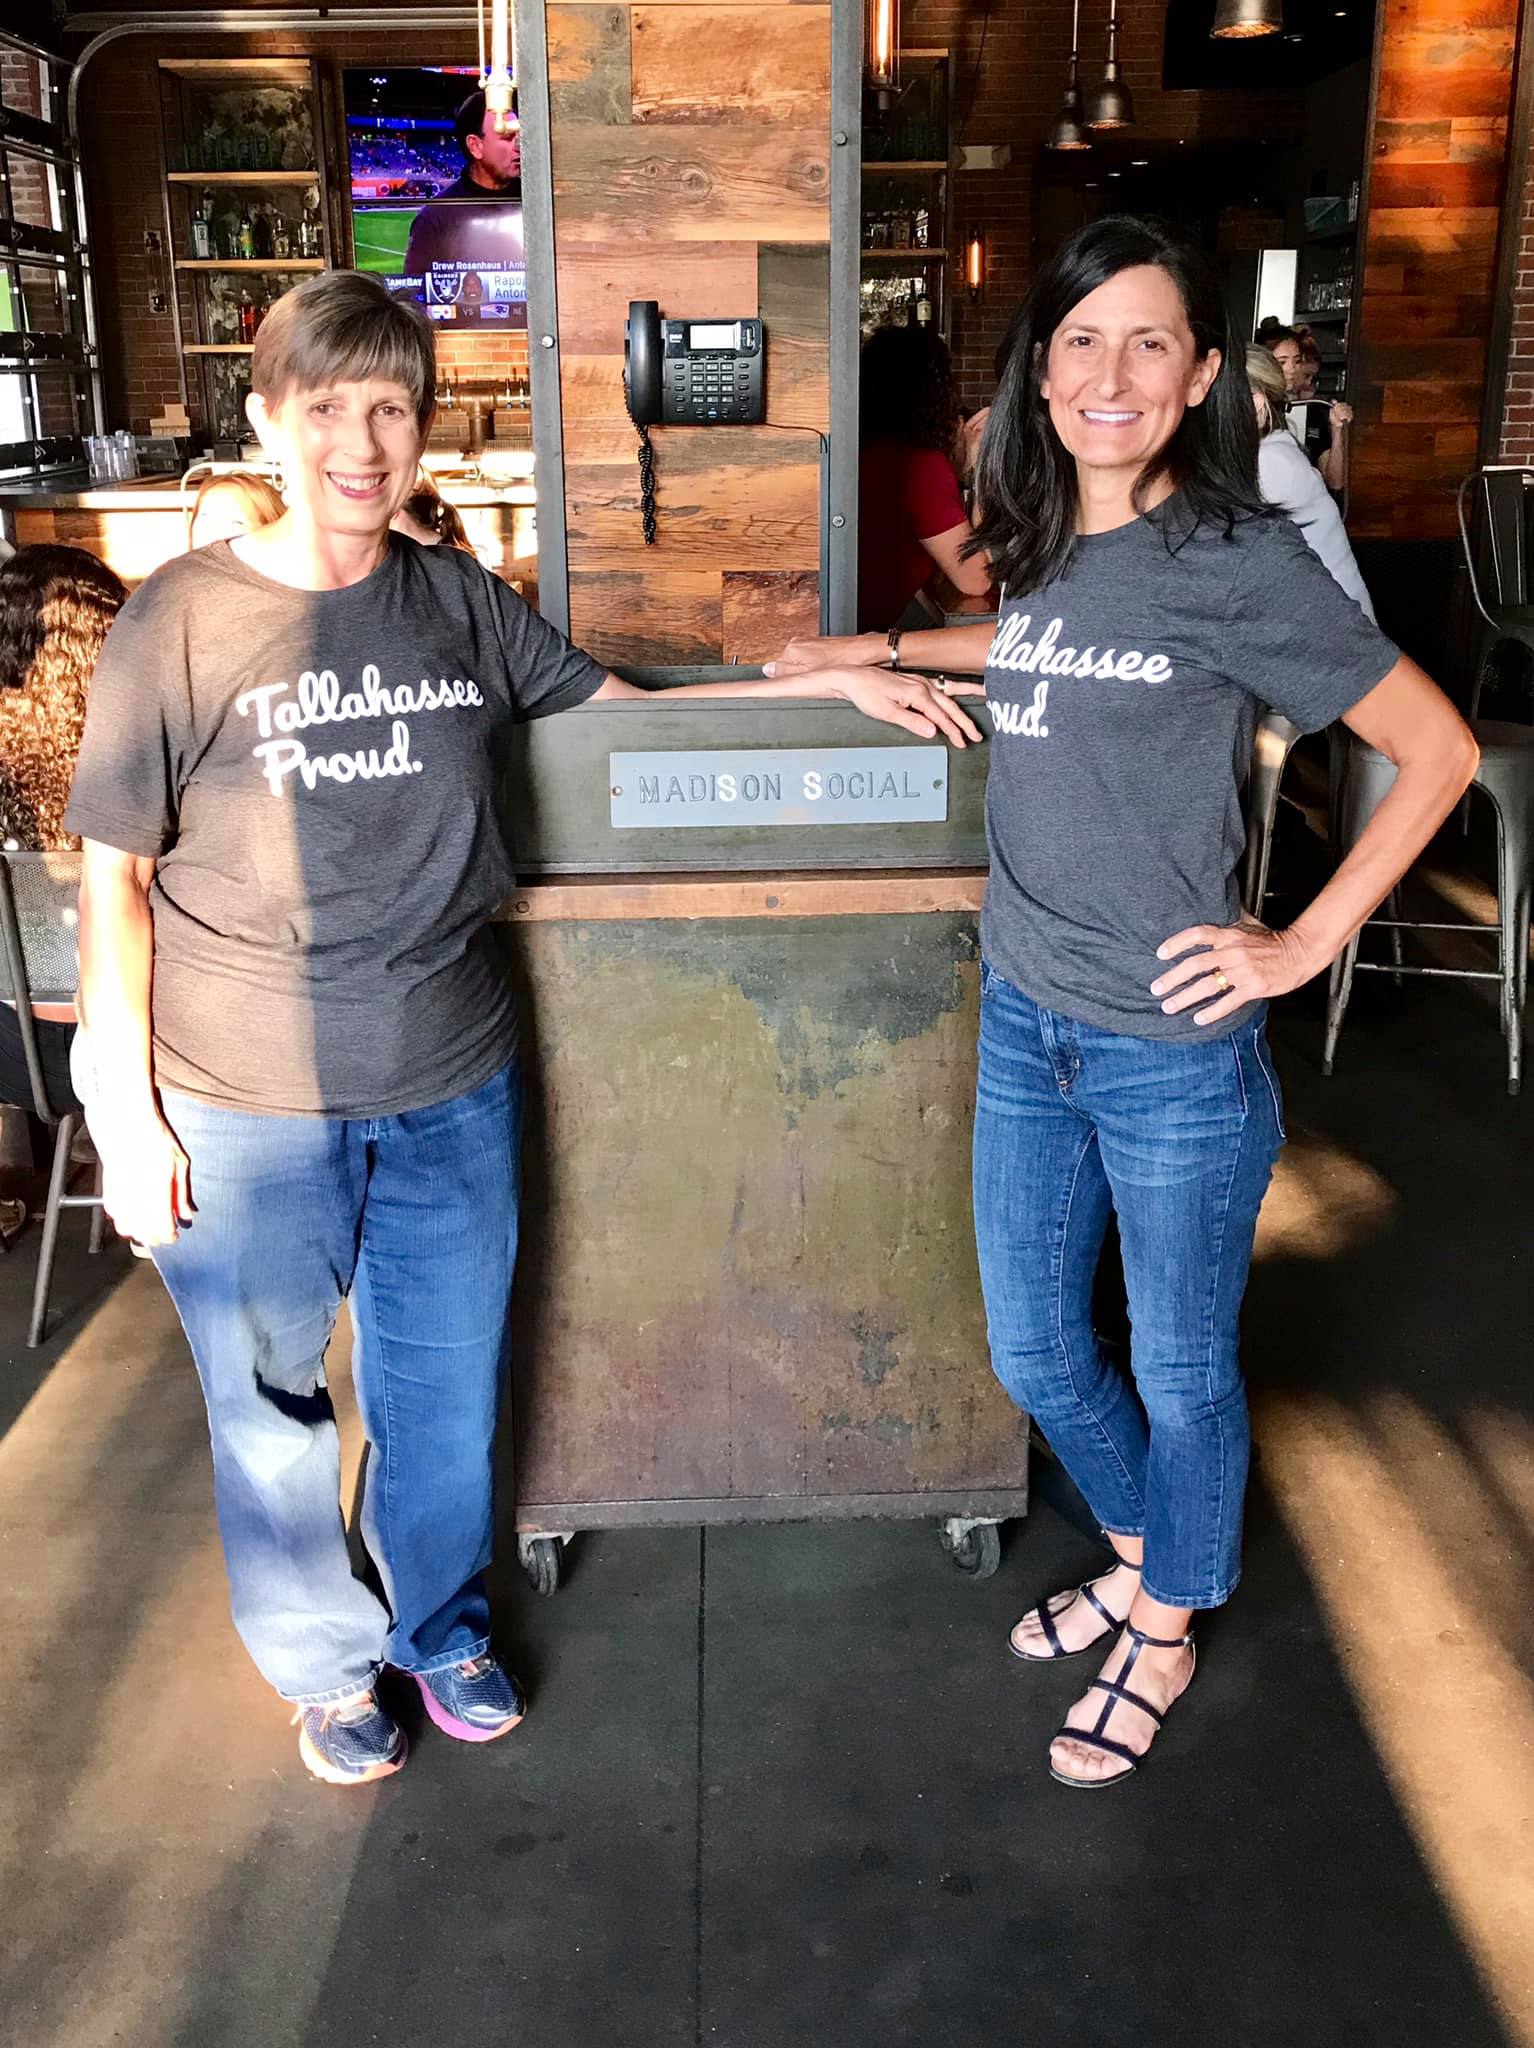
Thank you to Madison Social for hosting our meetup, to the organizer(s) and to Dave Barfield.

Wife of one, Mom of two, Friend of many. My pronouns are she/her/hers.
Hi, It’s Very Good Article. Thanks For Shearing keep up the good work.
Thanks for reading!